Test Case Label Management
Users can add multiple labels to manage the test cases and use labels in a Test step of an IDA pipeline to select test cases in pipeline execution.
Manage Labels of a Single Test Case
-
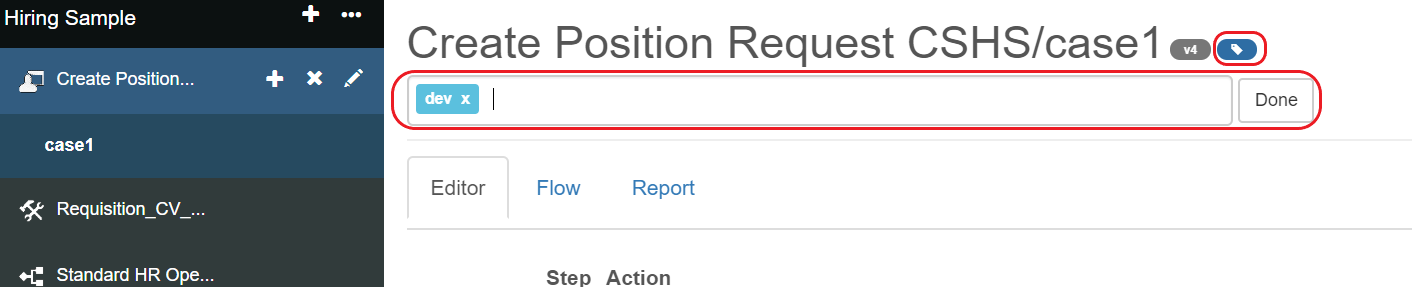
From the left-side menu bar, select a single test case under some test suite name.
-
Click the Labels icon next to the test case name, you can see an input field where you can add multiple labels to this test case. Press Enter to complete each label.
-
As you enter texts in the input field, labels that have been added to IDA will pop up to support auto-completion.

-
Click Done to finish editing labels of this test case. The labels are shown under the test case name.

Manage Labels of Multiple Test Cases
-
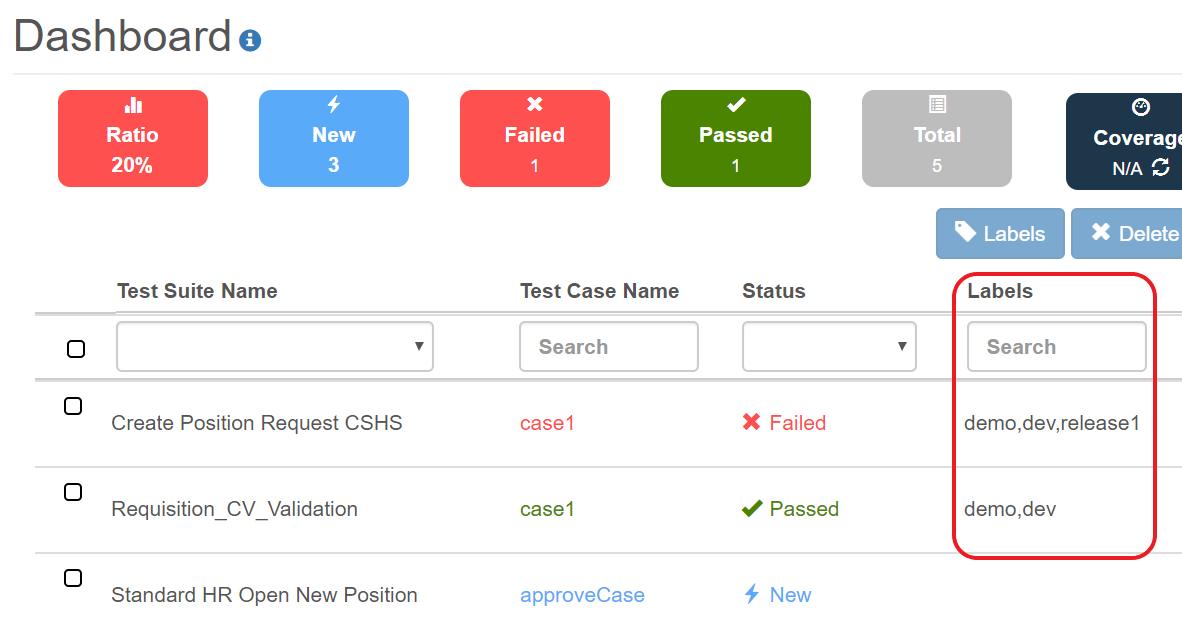
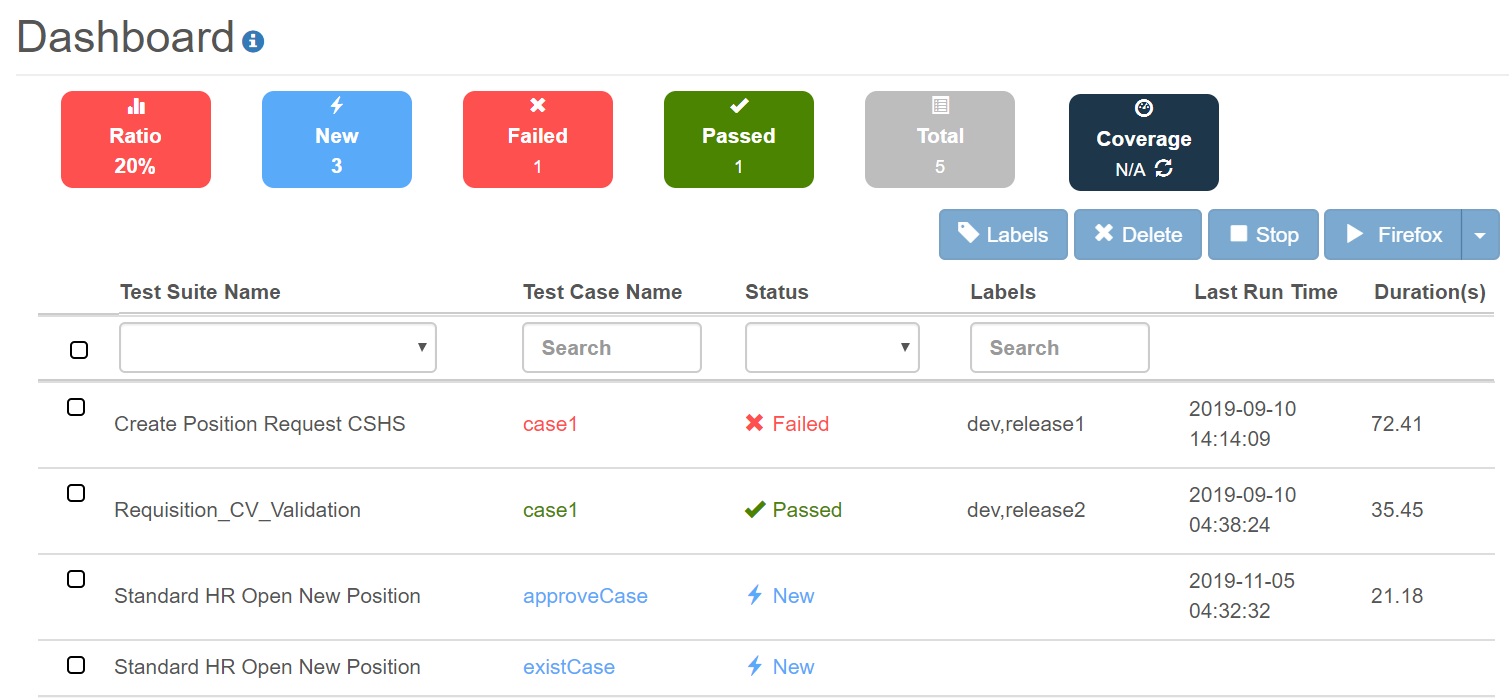
Click the test project name on the left-side menu bar, to view the list of all test cases. Test case labels are listed under the Labels column and can be used to filter test cases.
-
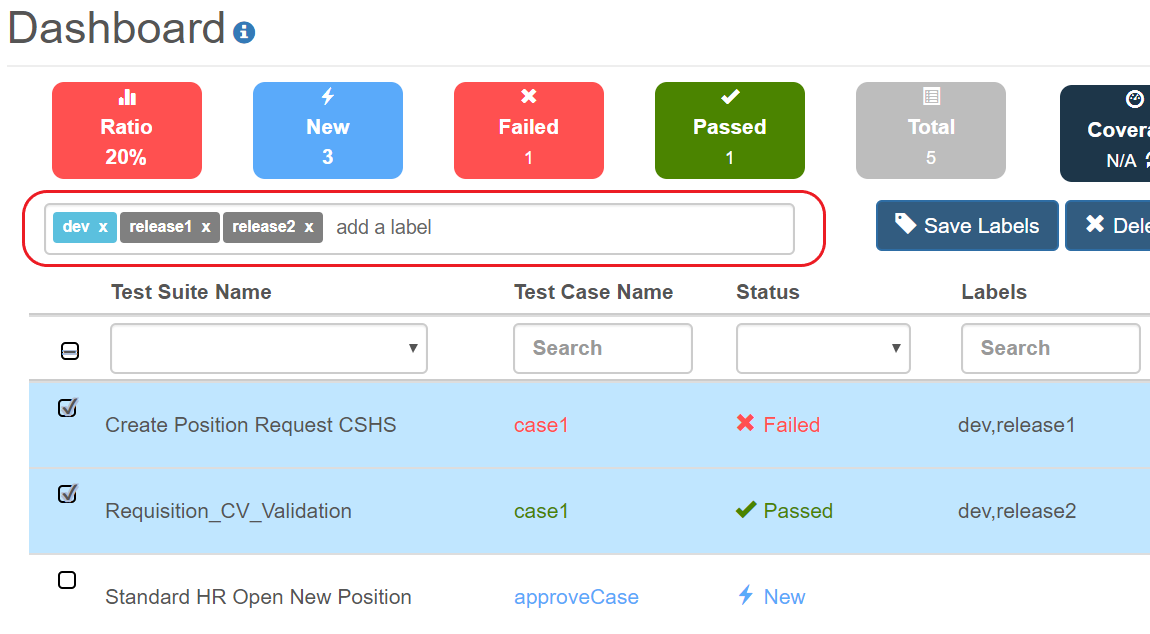
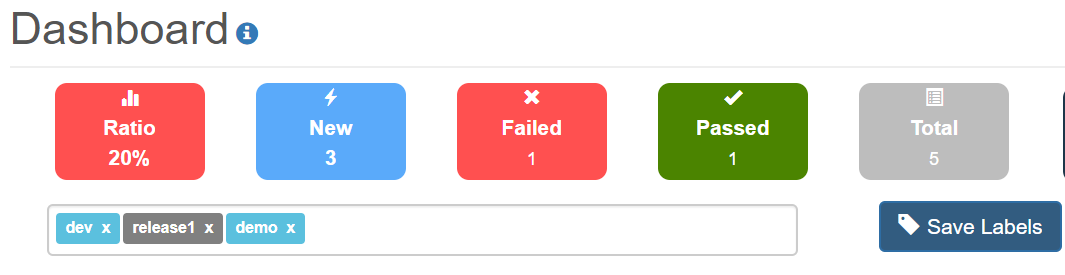
Select multiple test cases to manage labels together and click the Labels button. You can see an input field where labels of the selected test cases are populated. Labels all test cases have are colored blue, whereas labels not all test cases have are colored grey.
-
You can add or remove labels in the input field. New labels will apply to all of the selected test cases, whereas removed labels will only apply to test cases that have them. Note that new labels will also be colored blue.
-
As you enter texts in the input field, labels that have been added to IDA will pop up to support auto-completion.
-
Click Save Labels to finish editing labels of the selected test cases. The labels are shown under the Labels column.