Write a JavaScript Command
Create a JavaScript command
-
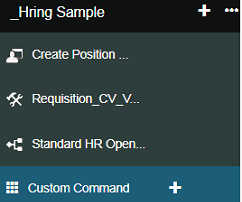
Navigate to Custom Command in the left-side menu bar, click the + button to generate a group command.
-
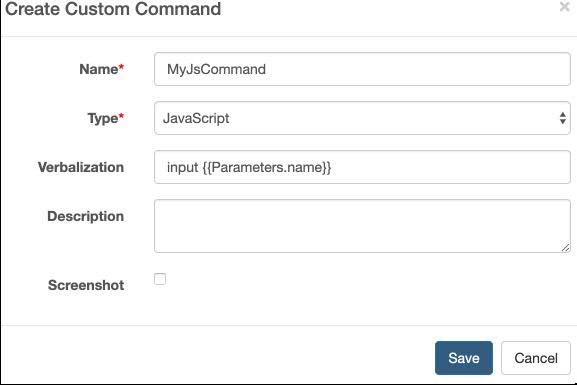
Enter the JavaScript command information.
Note: The scope field has two options: private means the command can be used only in the current project, and public means the command can be used in other projects. By default, the value is private. You can input the {Parameters.XXX} as a verbalization. The parameter is defined in this JavaScript. XXX is the parameter key name you defined in this custom JavaScript.
-
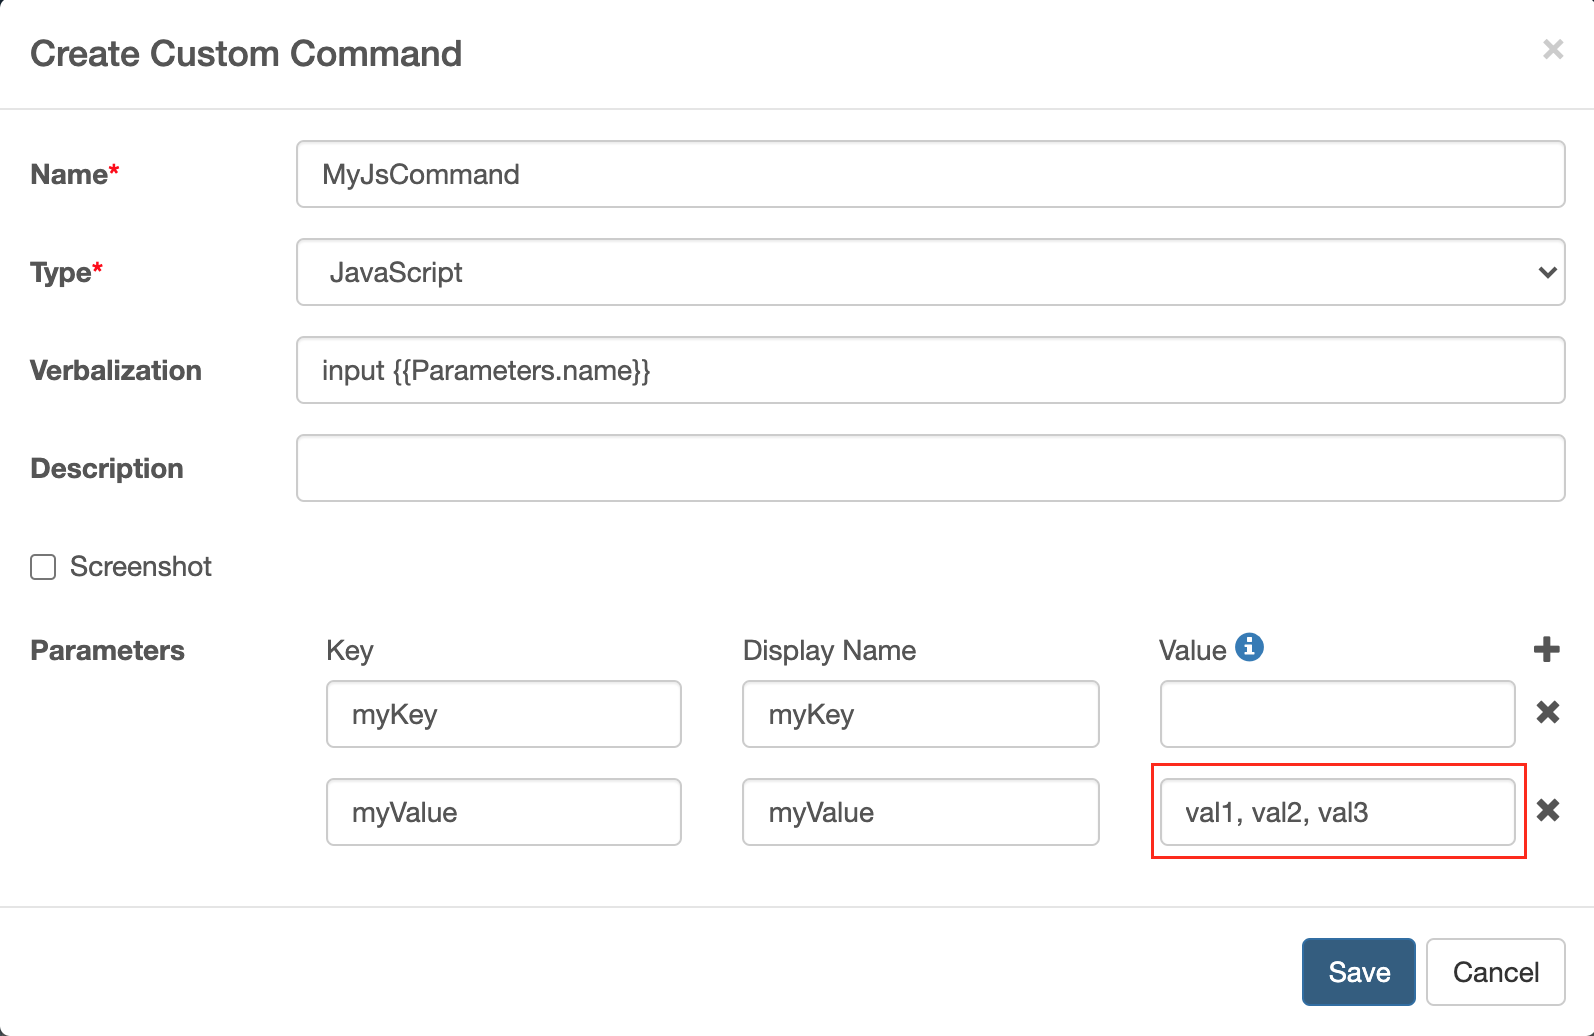
Define the JavaScript command parameter. You can refer to these parameters’ values through verbalization. For example: {Parameters.myKey}. You can configure a list of possible values for the parameter, separated by commas.
-
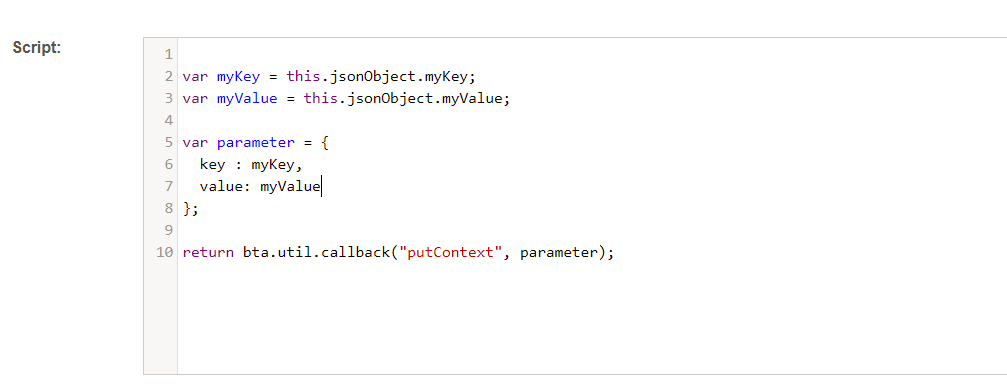
Define your JavaScript command content.
-
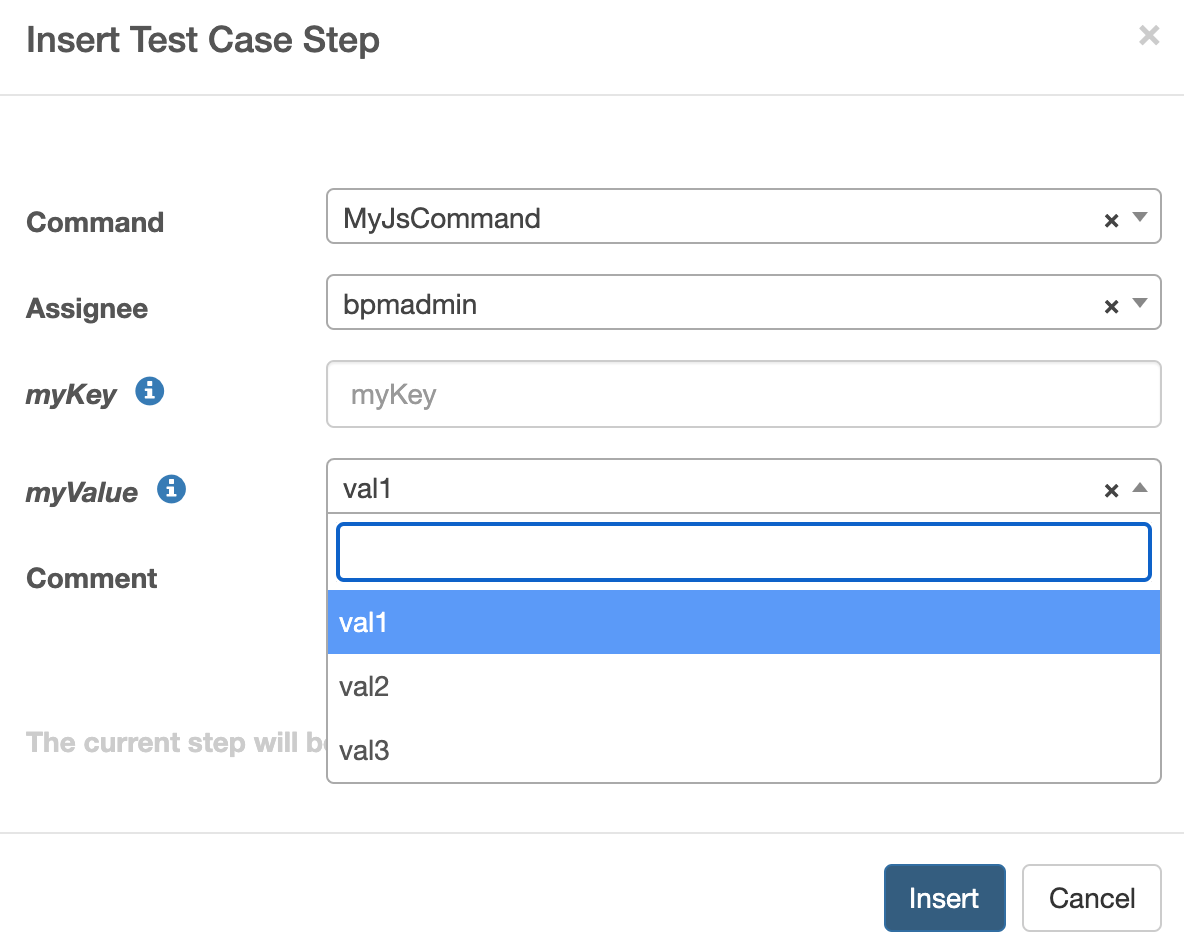
Add your JavaScript command to your test case. If you have configured a list of possible values for the parameter, you can select from the parameter dropdown list.
-
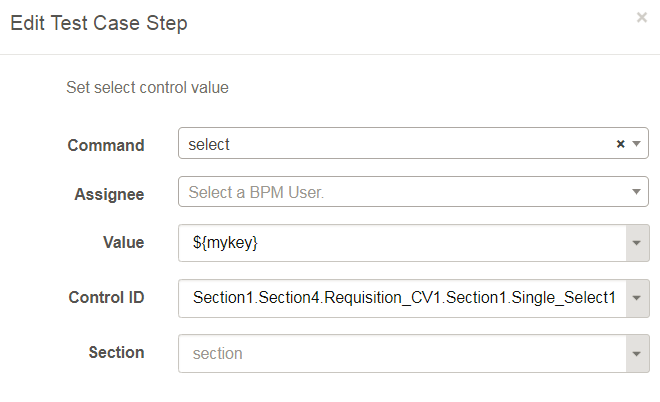
You can refer to JavaScript variables in the case step.

-
Refer to JavaScript API Reference for OOTB JavaScript functions
JavaScript Command sample
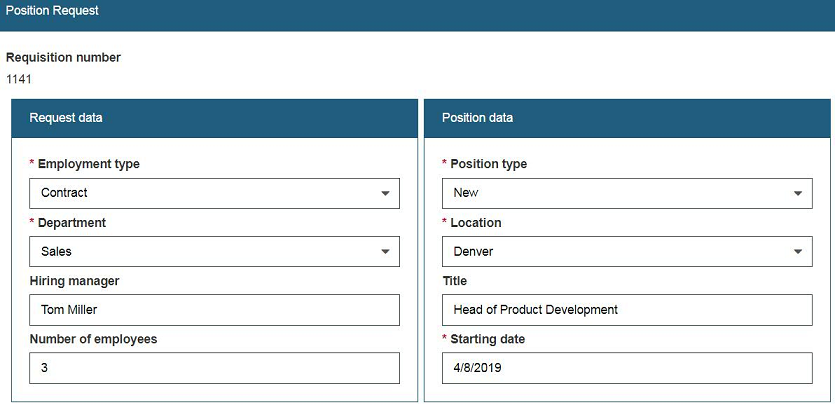
In the Hiring sample Standard_HR_Open_New_Position/case2, we will change the number of employees to the value 3 if we choose the Position Request Department as Sales.
Here are the steps:
- We create a JavaScript command named change sales number
- Copy the below JavaScript command content into this command.
var controlId='Section1.Section4.Requisition_CV1.Section1.Single_Select2';
var textId='Section1.Section4.Requisition_CV1.Section1.Text3';
var coachView;
var inputElement;
var selectedValue = [];
if (controlId) {
    coachView = bta.util.getCoachViewByControlId(controlId);
}
var selectElement;
if (coachView) {
	selectElement = coachView.context.element.querySelector("select.form-control");
	if (bta.util.isElementTag(selectElement, "select")) {
	    var selectOptions = selectElement.options;
	    for (var i=0; i<selectOptions.length; i++) {
	    	 if (selectOptions[i].selected) {
	    		if (selectOptions[i].text=='Sales'){
                   var textView = bta.util.getCoachViewByControlId(textId);
	           inputElement = textView.context.element.querySelector("input.form-control");
                    if (inputElement) {
                      inputElement.value=3 ;
                      }

 	    	 }
      	       }
           }
        }
}
return bta.util.callback();
-
Insert this JavaScript command in the Submit position request task UI.
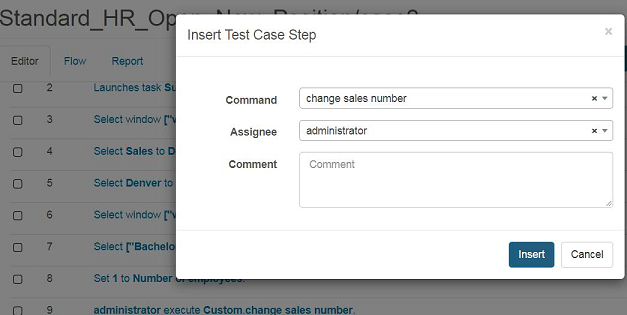
-
When you record/replay this case again, you will find that when you select the department value as Sales, the number of employees value is 3.
Post Custom JavaScript Command
This feature allows you to inject a custom JavaScript command to the case steps in bulk.
The classic use case:
Issue: In some user interface test cases, you may need to request data from the server. If the response time is too long, it will block the later case steps and cause the test case to fail.
Solution: Add a customized JavaScript which waits for the request to complete as a post script and insert it after the case steps that trigger the request.
Here are the steps:
-
The Post Script function is disabled by default, and the user should enable it in the project configuration.
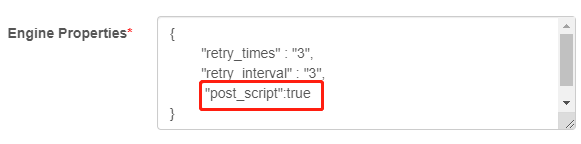
Step 1: Edit the project
Step 2: Add “post_script”:true in Engine Properties.
-
Create Post Custom Command:
Global level: Create a JavaScript command named
ida_post_scriptin Administration -> Custom Command. Then the post script toggle will be shown in the case step edit table. It will allow all projects in your system to insert a post script after UI/JavaScript commands.Project level: Create a JavaScript command named
ida_post_scriptin one project. Then the post script toggle will be shown in the case step edit table of this project. It will allow this project to insert a post script after UI/JavaScript commands. It will overwrite the global level post script.Test Case level: Create a JavaScript command named
ida_post_script_[project Id]_[test Case Id]in one project. Then the post script toggle will be shown in the case step edit table of this test case. It will allow this test case to insert a post script after UI/JavaScript commands. It will overwrite the global level and project level post scripts.Default post script:
 console.log("Start to run post script!");
 var timeout = 10;
 var interval = 2;
 var parameter = {
     elementId: "",
     elementCss: "img[alt='Loading']",
     xpath: ""
 };
 bta.util.waitElement(parameter, {
      visibility: "Visible",
      timeout: timeout,
      interval: interval
 }, function(status){
   if (status === "success") {
     bta.util.waitElement(parameter, {
          visibility: "Hidden",
          timeout: timeout,
          interval: interval
     }, function(){
       bta.util.callback();
     });
   } else {
     bta.util.callback();
   }
 });
You can configure timeout, interval, elementId, elementCss, and xpath as needed. The default sample will wait for some time until the loading icon (img[alt=’Loading’]) disappears (Usually it is located in the right top of the UI). It applies for long loading AJAX services or long-time UI loading.

You can also change the post script to meet your needs. It will run JavaScript after every command you apply for ida_post_script. When you replay the test case, you can open the web console to debug your test case. For example:
console.log("Start to run post script!"); setTimeout(function(){ }, 3000); -
Insert Post Script to Case Step
If you have created any level of the post script, then the layout of the case step table will be:

Click the toggle to insert a post script after the command.
Batch operation:
Select the case steps, right-click, then click the On/Off button.
