Task 4: Create a Pipeline for Continuous Deployment
IDA provides a built-in continuous integration and deployment pipeline to orchestrate testing, checkstyle, snapshot taking, and deployment.
About this task
Before you start, make sure you have set up the test project.
Step 1: Create a pipeline
We provide a web UI for users to define the pipeline easily.
Procedure
-
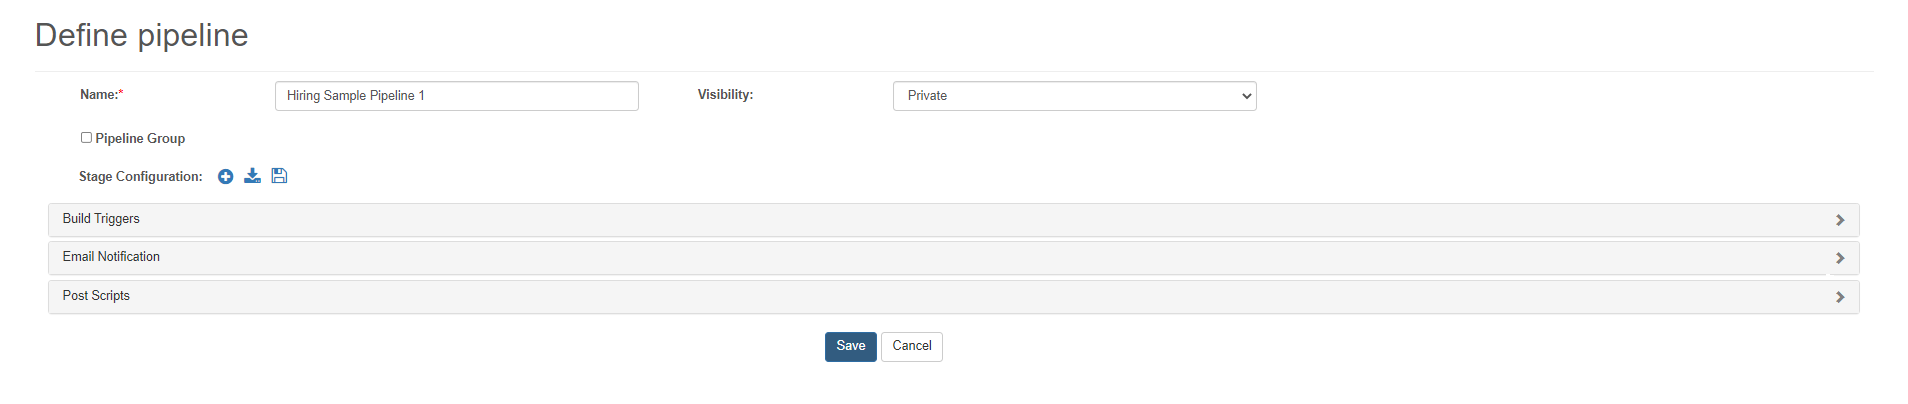
Click the Create Pipeline button on the pipeline page. Fill in the pipeline name and choose the visibility.
-
Click the
 button. Then fill in the Create Stage form like the screenshot and Submit. Remember to select the first option under the snapshot column as it’s the latest snapshot.
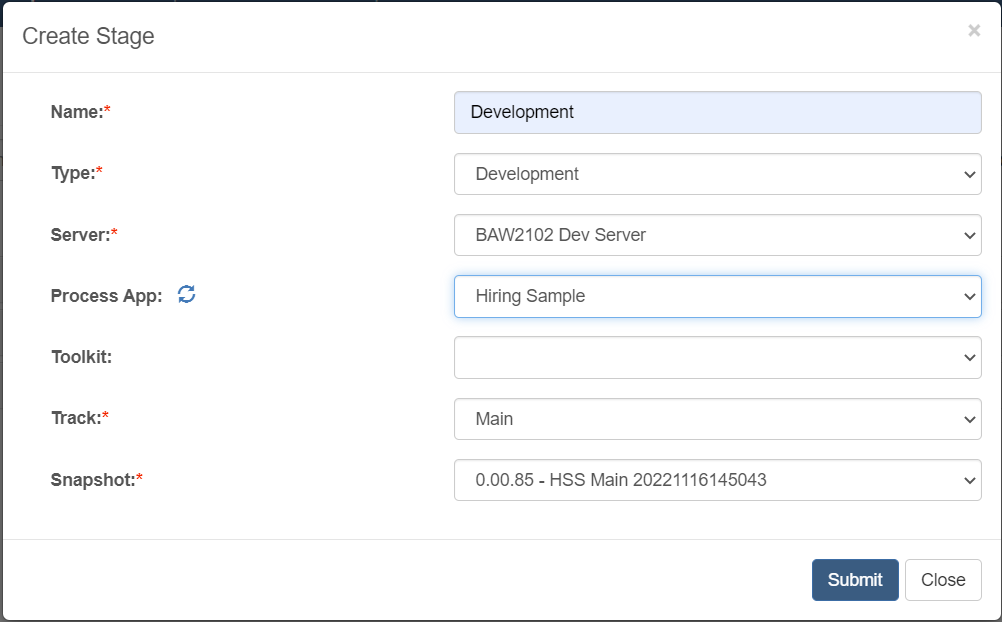
For more details of the parameters in the table, please see Create a Pipeline for Continuous Deployment.
-
Click the
button shown below.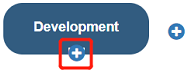
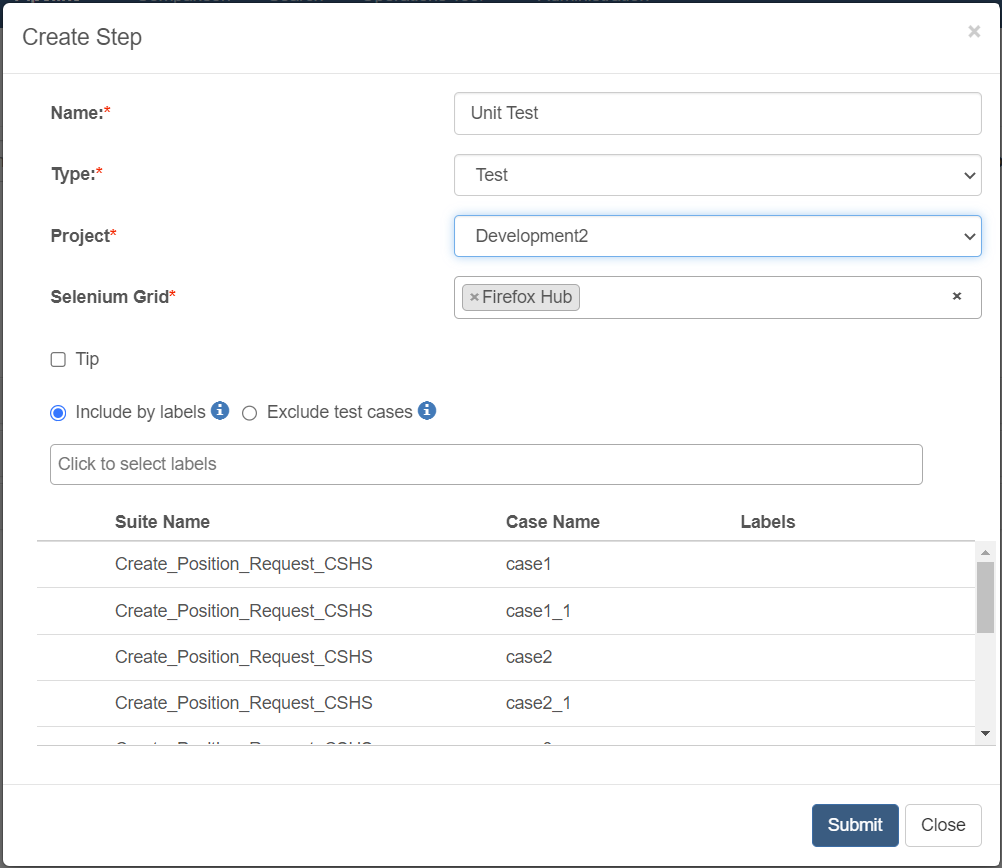
Fill in the form like below and Submit.
-
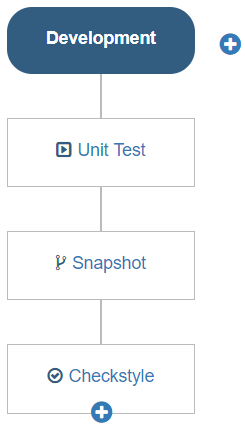
Repeat step 3 to add the Snapshot and Checkstyle steps and fill out the forms according to the table below. The
button clicked is the one below the stage step.Snapshot Checkstyle Name Snapshot Checkstyle Type Snapshot Checkstyle Naming Pattern {MAJOR_MINOR.PATCH}-{APP_ACRONYM}{TRACK}{yyyyMMddHHmmss} N/A Health Score Threshold N/A 20 Warnings Threshold N/A 200 Ignore Empty Documentation N/A Check Finally, the stage will look like this:
-
Click the Save button.
Step 2: Run the pipeline
Now you can run the pipeline.
Procedure
-
On the pipeline list page, click the Run icon.

-
When the pipeline build is over, click the pipeline build result link to see the whole report.
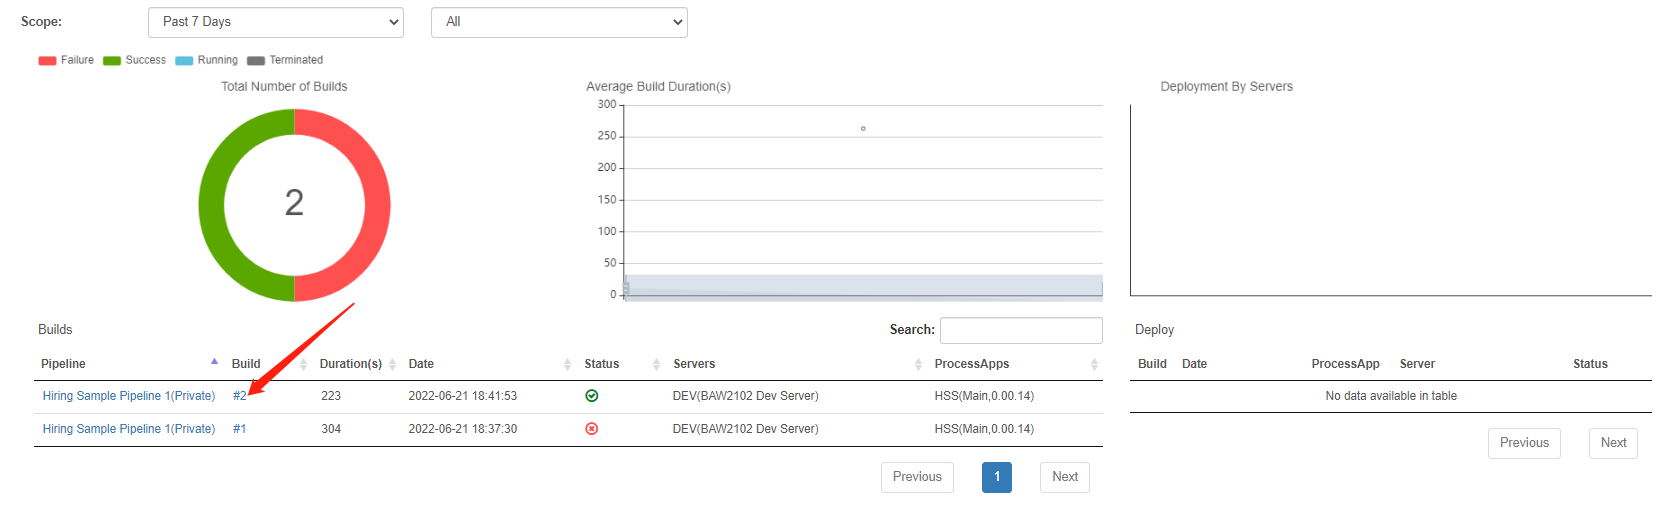
The report will look like this:
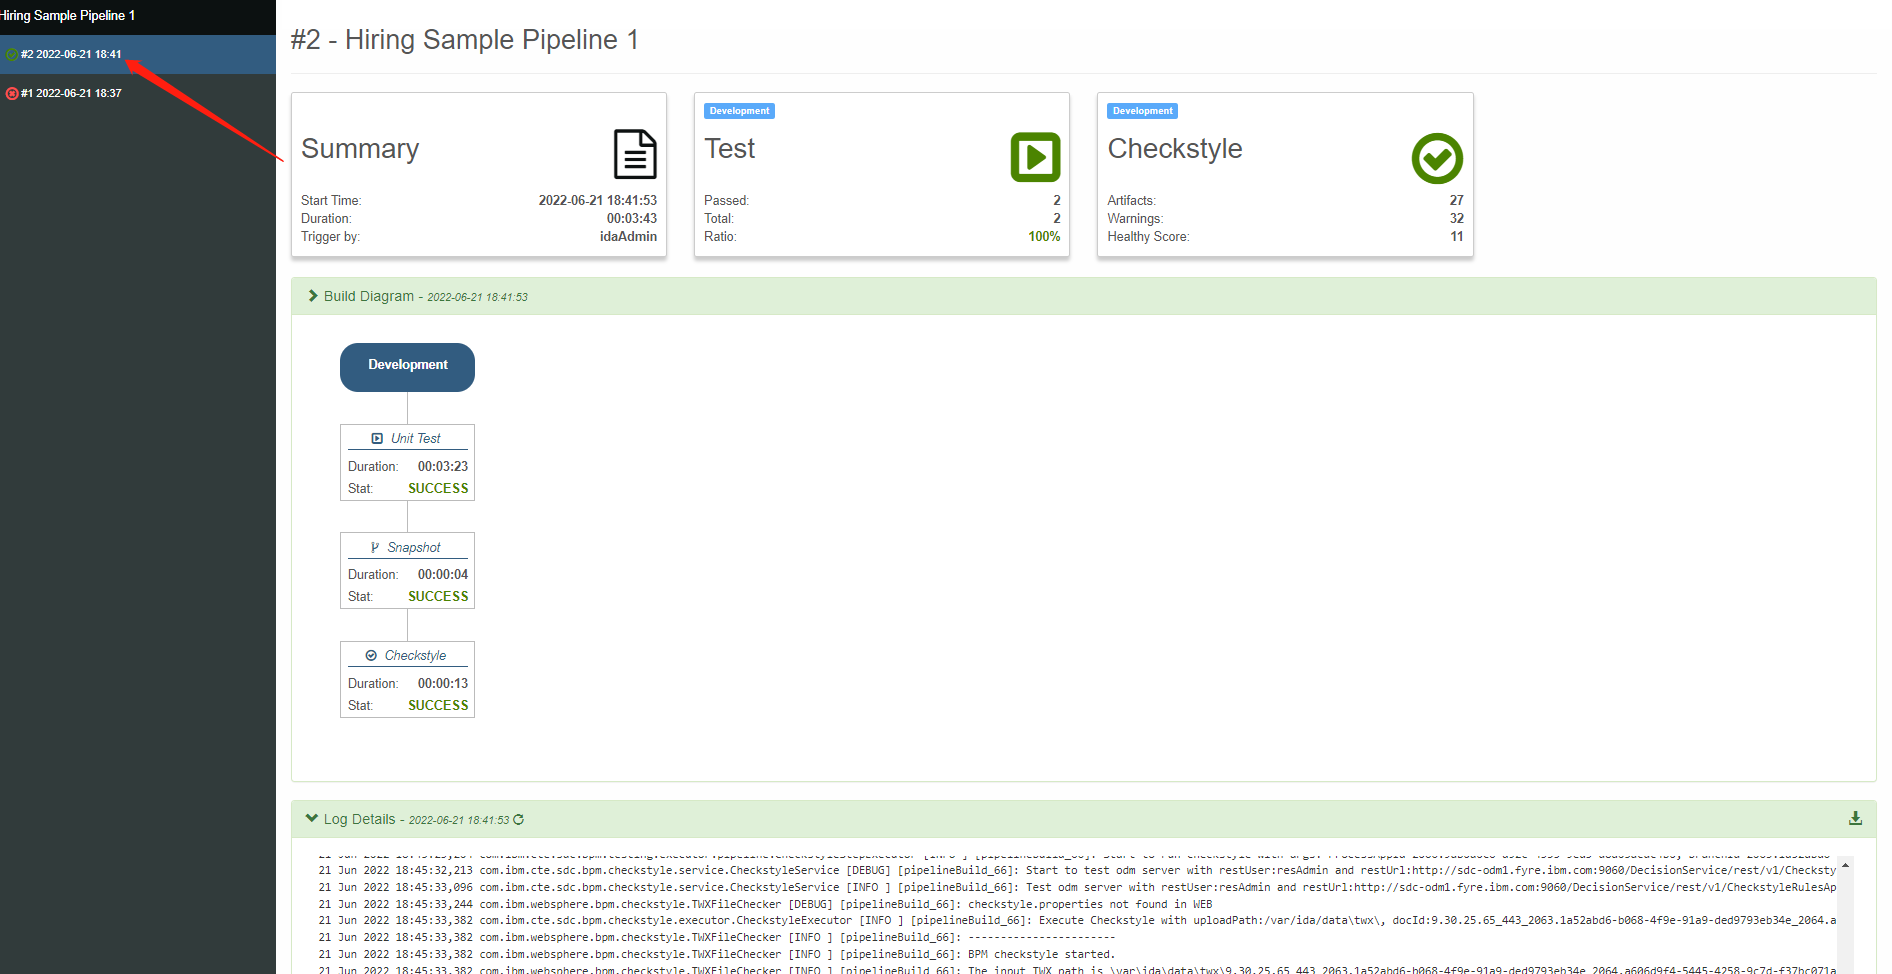
If you want to know the details of the pipeline report, you can refer to this link: Details of the report.