Role Management
Add a role
-
Click Administrator tab, then switch to Role Management page to manage roles and permissions.
-
Click
 icon which is on the right of Role Management.
 -
Fill out the form below. Then click Create button. After a role is created, manage its permissions in the Role Management table.
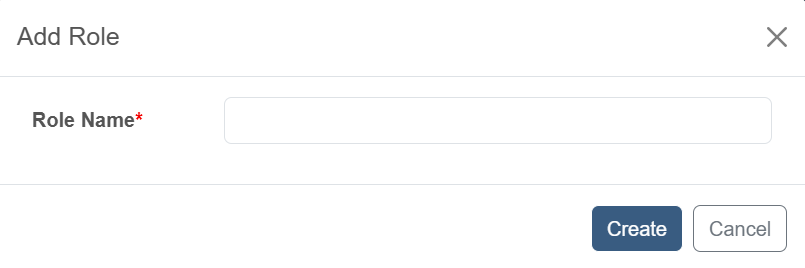
Field Description Role Name the name of the created role
Edit a role
-
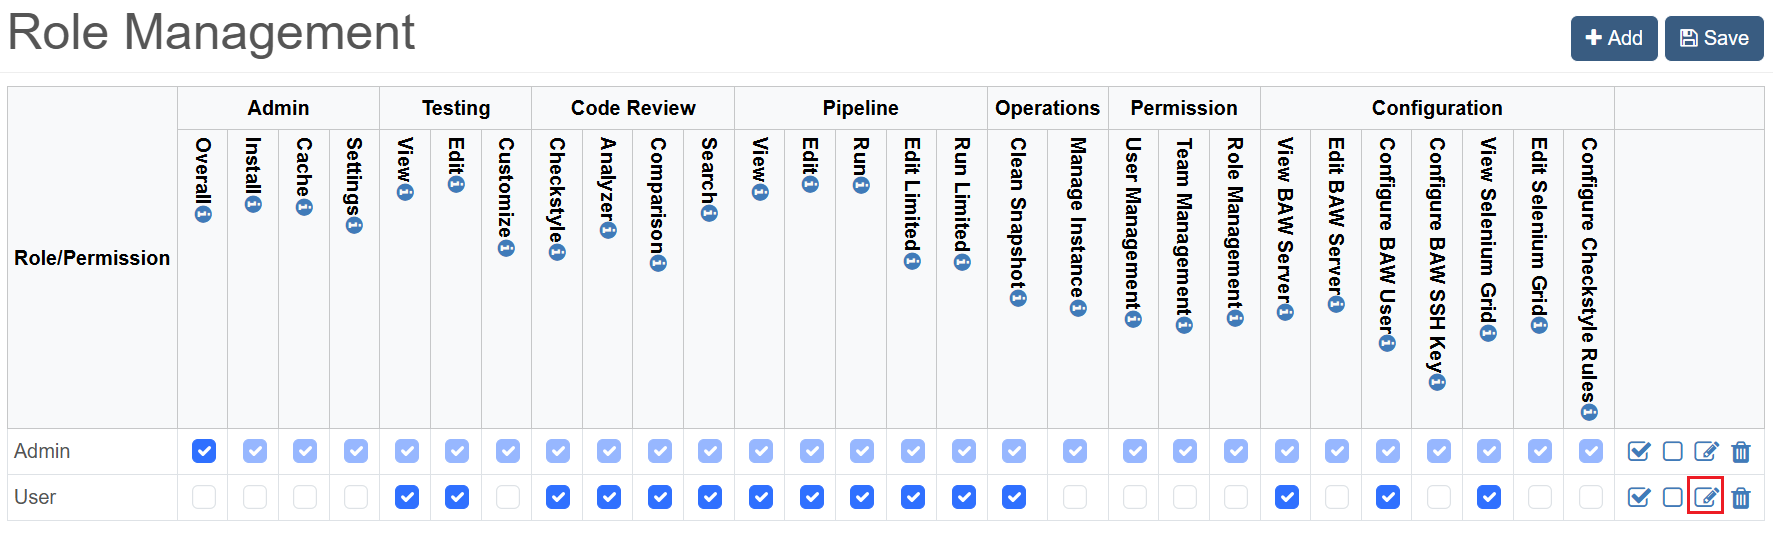
Click Edit icon on the last column of the row of role that you want to edit.
-
Change name of the role. Then click Save.
Delete a role
-
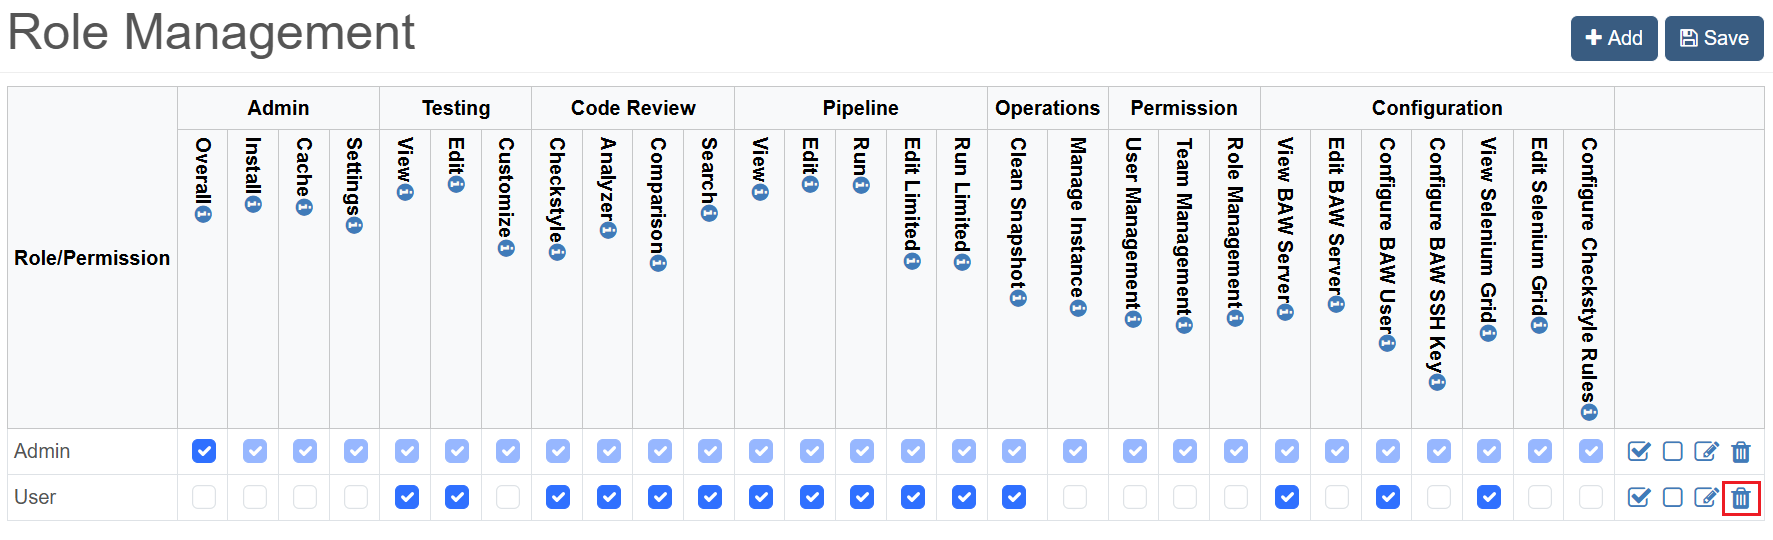
Click Delete icon on the last column of the row of role that you want to delete.
-
Change name of the role. Then click OK.
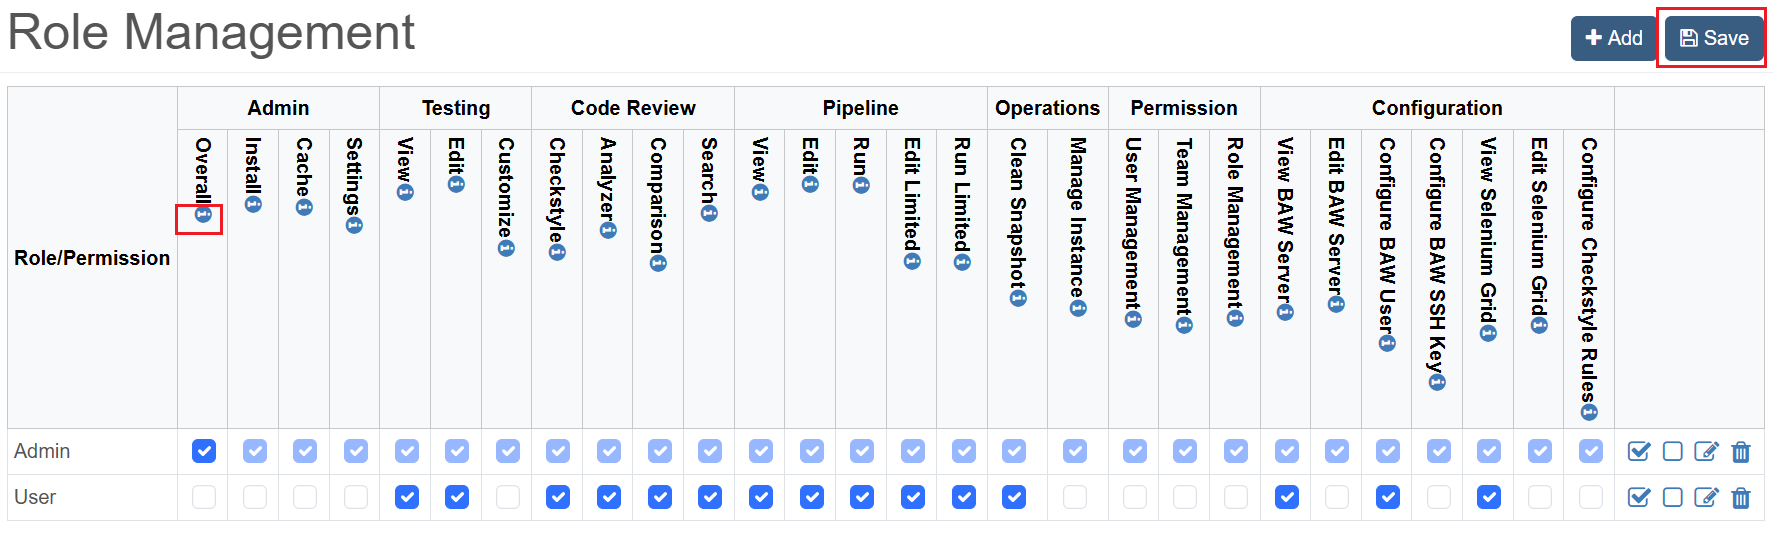
Edit role permissions
Check/uncheck permissions in the Role Management table, then click the Save button to update role permssions. The permissions are categorized into “Admin”, “Testing”, “Code Review”, “Operations”, “Permission” and “Configuration”. Hover mouse over the Info icon of each permission, to view description of the permission.
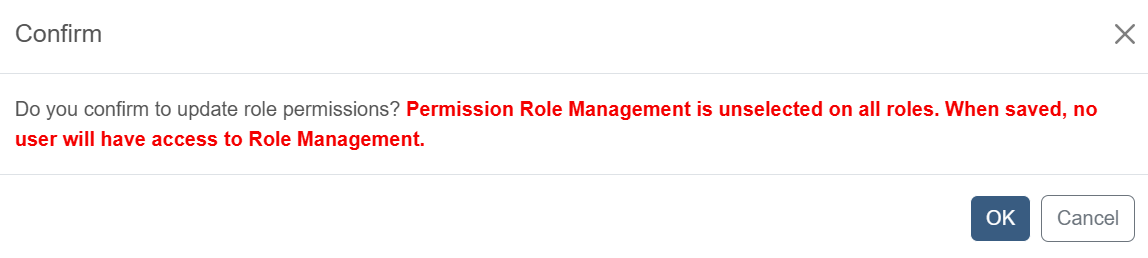
When Role Management permission is removed from all roles, a warning message will show up, as if this permission is removed from all no user will be able to access the Role Mangament page.